My Top 7 Tips & Lessons from My Kitchen Remodel
- Nancy Lane

- Jan 20, 2021
- 7 min read
Updated: Feb 2, 2022

It may not surprise you when I tell you that renovations and remodels are in demand more now than ever with all of us staying home so much this past year. We are working on several new kitchen and bath projects that I look forward to sharing with you in the future but today I thought I'd talk about a kitchen renovation we completed last year in my own home... especially since we had the chance to get it professionally photographed recently by Madeline Harper Photography.
Last year about this time, we were making plans to update two of our secondary bathrooms. Since we were going to have carpenters already on site, I decided to take the opportunity to give our kitchen a facelift as well in addition to the bathrooms... which led to us adding the living room cabinets as well (#scopecreep). A little backstory for those of you that might be new around here...we first updated our kitchen about ten years ago. At that time we updated most of the hard finishes (countertops and backsplash, new lighting, new farmhouse sink, and the most gorgeous Rohl bridge faucet) along with all new appliances. What stayed the same? The original cabinets.
Fast forward ten years or so. With a growing family of boys, our kitchen is truly the heart of our home. We spend so much time in here especially now that all of our kids are becoming fantastic chefs and bakers. Yes, you read that right and I'll be honest and tell you that between the three of them and my husband, they all cook more than I do now. No complaints from me :) ha! What makes me complain? Well, after all these years, some of the original cabinet doors were starting to become problematic. Of course, this in turn got my design wheels turning which led to this kitchen project or facelift as I like to call it. #whenyougiveadesigneraproblem...

PROJECT SCOPE: Instead of ripping out all the cabinetry and risking damage to the countertops and backsplash, I made the executive decision to only reface the doors. In case you haven't heard that term before, it means all doors and drawer fronts were removed and replaced with new doors and hardware along with all new drawers (both new drawer boxes and fronts). While we left the original cabinet boxes and replaced all of the door fronts, everything was pulled together seamlessly with with a fresh coat of paint inside and out. Since our kitchen opens up to our family room, the cabinets in that room were added to the project. The style we chose was what I call modern shaker...simple with a extra bit of trim inset to add interest. The new hardware was both internal (new soft close hinges and drawer glides mounted inside the cabinet boxes) and external (the pretty part you grab hold of to open and close). More on the hardware below...
Even after so many years of designing, I truly believe every project teaches you something that will in turn help the next project that much more, and our kitchen was no exception...we definitely learned a few things in that process! So if you're contemplating giving your kitchen or bathroom spaces a facelift, keep reading for my top takeaways from this process - some of them may surprise you!

LESSON #1: Soft close hinges aren't always all they're cracked up to be.
Shocker, I know! The functionality is really nice, I have to agree. Rather I should say the thought of the functionality is nice but for those that may not know, let me point out that soft close hinges come in varying sizes. I was convinced to use a certain size for our doors due to weight constrictions for the doors. Choosing that specific size took up much more interior space on my shelves than originally anticipated (since we weren't replacing the cabinet boxes), so my previously perfectly symmetrical rows with specific numbers of cups and glasses each couldn't happen anymore. #ocdissues I have a big heart for organization, so all my organized obsessed friends out there will understand how much this drives me crazy on a daily basis! I'm still not convinced that the next size down would have made the doors fall off, but it is what it is and I've learned to adapt. Here's your takeaway tip...if you've got issues with organizing and symmetry inside your cabinets, then measure twice, even three times {or more} you and plan accordingly before you decide on those hinges!
LESSON #2: Upgrading to soft close hardware in drawers changes your interior drawer dimensions.
If you're upgrading to soft close hardware for your drawers, remember that those will eat into the available space you have in each new drawer. And because of that, your old set of organizational tools may not fit back into the new drawers that you may have.
Like with most spaces, I love finding ways to keep things together, tidy, and organized. Drawers are no exception! Before this reno, I used a good set of white wire organizational boxes in my drawers for flatware, junk drawers, and other kitchen utensils. We were able to reuse a few of these but I also used this as an opportunity to renew and refresh. I may have gone a little nuts at the Container Store but if that's wrong I don't want to be right :) Take this tip to heart beforehand and factor that cost into your budget because you will likely have to or want to replace storage tools in at least some of your drawers. I've shared some of my favorite finds at the end of this post.

LESSON #3: Mixing metals and styles for hardware is a place to have fun!
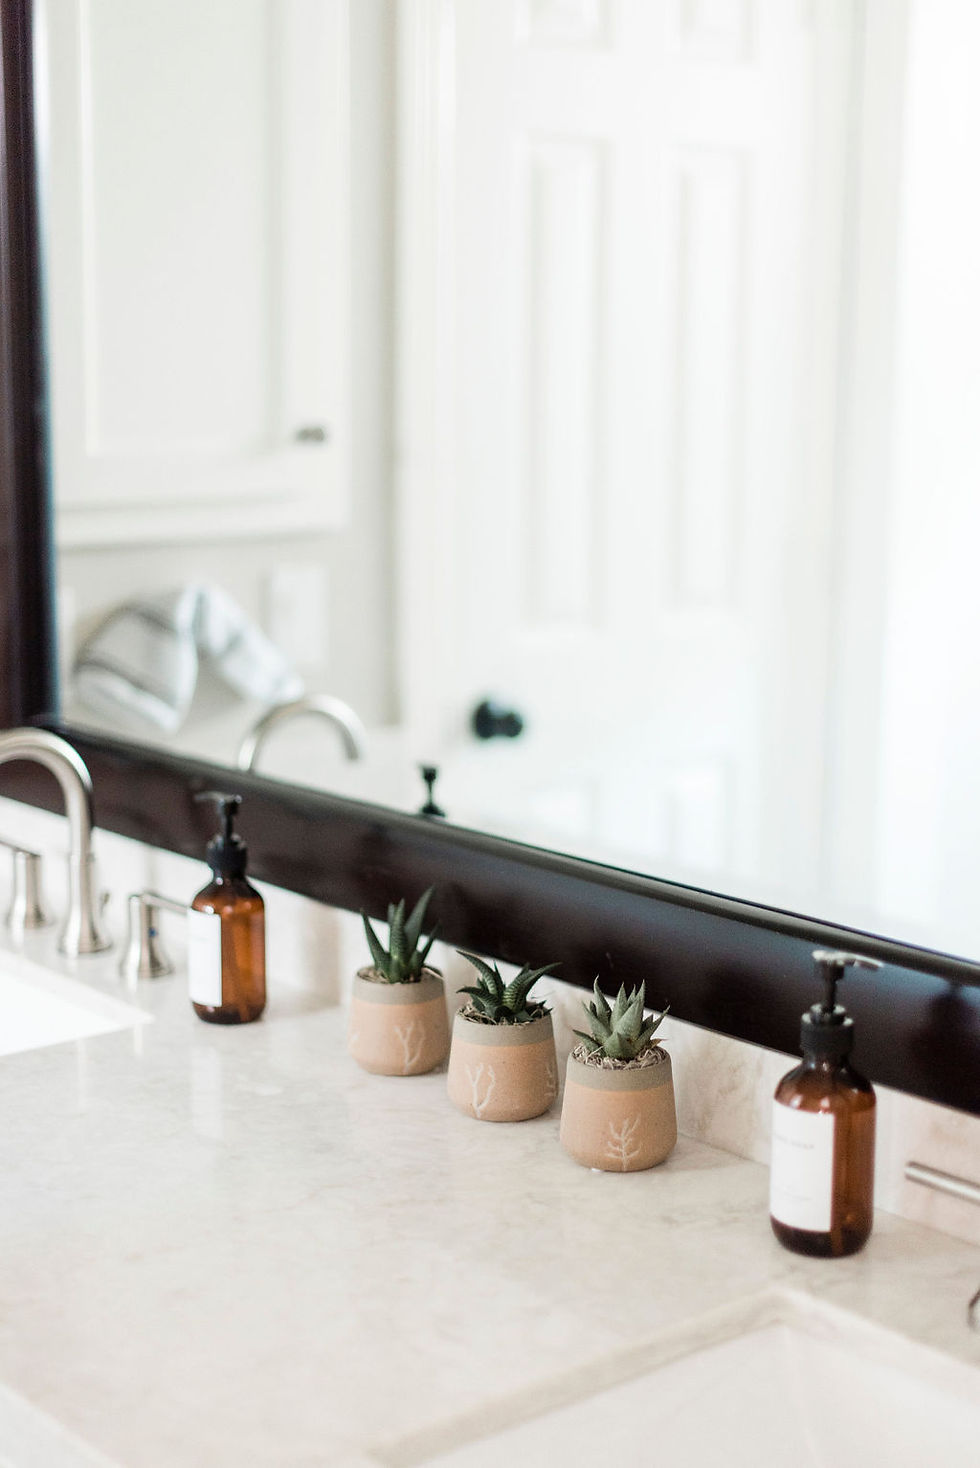
You can see above that we have a more traditional nickel faucet, but I really didn't want nickel. As I like I tell my clients it's just as important to know what you don't want as much as it is to know what you do want. I knew I wanted something other than oil rubbed bronze (all the knobs in our old kitchen were ORB...see below) and black felt wrong as well especially since I had our painters spray our old barstools to match the new GORGEOUS paint color on the island. No, this go round I wanted to brighten things up with a touch of warmth for our hardware so it was brass for the win (plus the new hardware pulls in the brass in the pendants above the island).

I also liked the idea of varying the size of the hardware throughout our space. I used smaller knobs on the upper cabinets, keeping the entire upper part of the kitchen looking lighter, while opting for traditional cup pulls for the drawers and then long linear handles on the lower cabinets to ground the lower half of the kitchen. The mixing of styles and finishes is unexpected and a touch of us in our kitchen, which I love so much!

LESSON #4: Sketch out those cabinets!
Once you have decided what combination of upper cabinets, drawers, and lower cabinets you want for the kitchen, make sure you sketch out the layout and note which knob or pull is needed for each cabinet or drawer. Use that drawing to place orders and give to your installer when the time comes - even if that's your husband! Trust me, it's worth it when you don't have to reorder a cabinet face after drilling two holes instead of one.

LESSON #5: Make a purge plan, and stick to it.
I highly recommend having a purge plan for the kitchen that happens before, during, and after a kitchen remodel. Purging before your remodel even begins can show you that you don't need as much as storage as you might have thought before, and that might change your layout accordingly.
For the things we needed to keep or have access to during the remodel, they were broken up by the amount of use. Rarely used items in the pantry lived in the dining room temporarily, while eating utensils and pantry food items lived in the breakfast nook. Anything that would be donated or thrown away moved to the garage and the patio, respectively. Pay attention to what you use, and if there is anything you never touch during the remodel process, re-evaluate whether you want that tool taking up valuable space in your new kitchen.

LESSON #6: Let newly painted cabinet faces dry for one full week.
Luckily, I've learned this lesson before, and this time was no different. Once the cabinet door faces were painted, we waited 7 full days before we hung them. I wasn't about to spend all that time and money to have paint stick in the corners or pull paint off the other surfaces. Let it cure for as long as you can and for at least as long as your paint contractor recommends. No shortcuts or you'll kick yourself later I promise.
That week gives you time to wash every single thing you're putting back in the kitchen - no judgement from me..we all have that platter from the back of the corner cabinet hasn't been washed since two Thanksgivings ago too. Now's your opportunity to deep clean so take it!

LESSON #7: Be strategic about where everything is stored.
A new kitchen gives you the chance to think about how you and your family move through your kitchen for every meal, every day. We suggest relocating your most used dishes to the cabinets closest to your dishwasher so you or your kids can easily unload a fresh load straight onto the shelves without having to move around the kitchen too much. Do you have room for a dedicated set of cabinets for snacks and lunch setup for the kids? Can you relocate all of your big cookware to the island or close to the oven for better access? We have beautiful china from my mother-in-law that we wanted to keep, but it lives in the upper cabinets farthest away from the sink and the oven since it doesn't come out too often.

I hope you can save yourself a few headaches from these tips. We are always here to help if you get stuck getting started or you're thinking about taking a project on like this in the future and need design help. If you don't feel like tearing your hair out at least once in this process, you're not doing it right! It happens to everyone, even a designer who does this all the time! Scroll down for a few of my favorite kitchen tools and cabinet hardware as well to get you started!